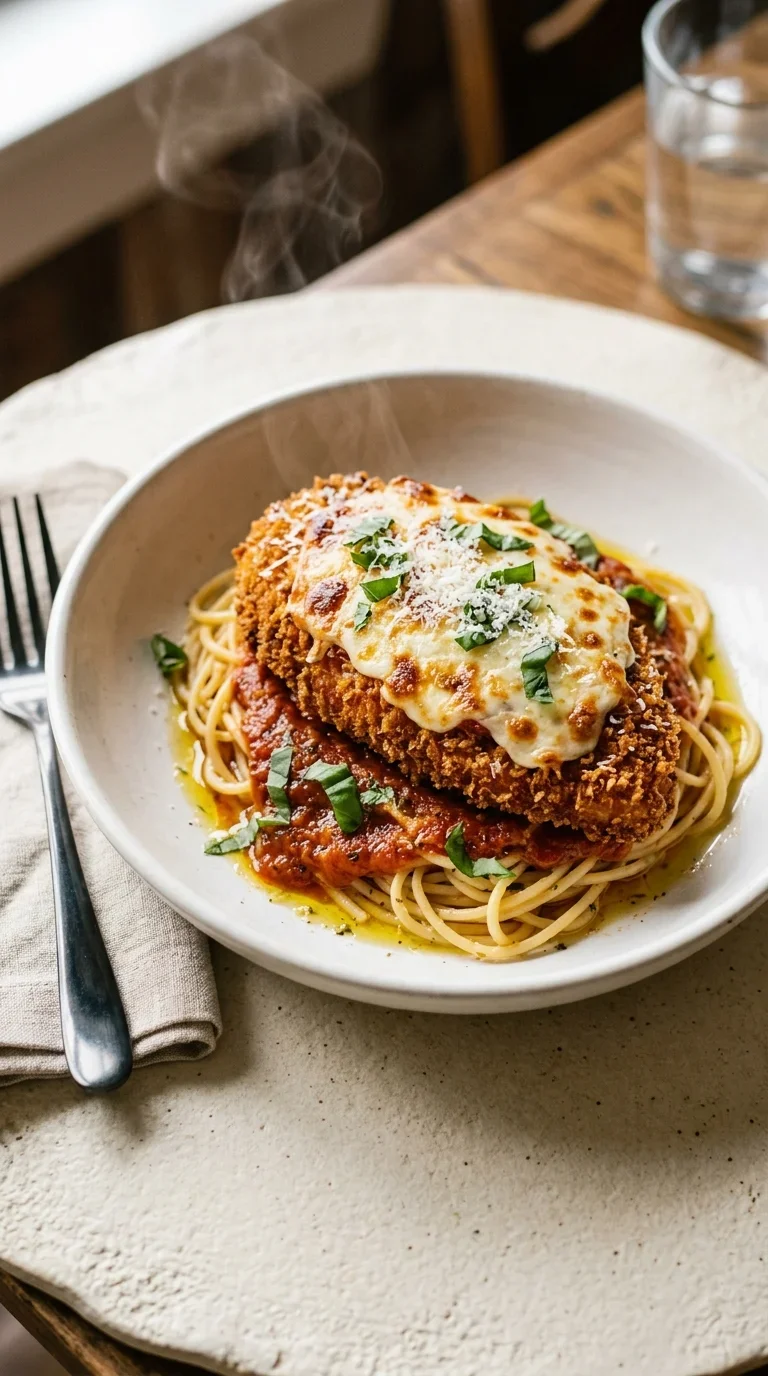
The journey of crispy chicken parmesan is a fascinating tale of culinary migration. While rooted in the traditions of Italy, where meat was often breaded and fried, the specific combination of marinara and melted mozzarella we recognize today flourished in the Italian-American communities of the early 20th century. It was a creative adaptation, utilizing the abundance of cheese and tomatoes available in the States to elevate a simple cutlet.
In those early days, the dish became a staple of the red-sauce joints in New York and New Jersey, symbolizing a blend of Old World technique and New World generosity. The focus was always on the contrast of textures—the snap of the fried coating against the softness of the sauce.
Over time, this style of cooking moved from the bustling city eateries into home kitchens, becoming a symbol of Sunday family gatherings. It represents a legacy of comfort and the enduring appeal of a well-executed, hearty meal that bridges two different worlds.
Why You'll Love It
-
- Honestly, there's just something about that first bite of crispy panko bread crumbs meeting melty mozzarella that feels like a warm hug.
-
- It tastes just like those fancy restaurant meals, but you get to stay in your pajamas, yeah, and it's made with love in your own kitchen.
-
- I mean, the way the 2 cups marinara sauce, low‑sodium simmers into the chicken... it's just so comforting and hearty.
-
- Wow, your whole house will smell like a little Italian bistro, and seeing that bubbly, golden cheese under the broiler is just pure magic.
"Finally, a version that actually stays crunchy! My husband said it's better than the local bistro. Just wonderful."
Essential Ingredient Guide
- 4 boneless, skin‑less chicken breasts (about 6 oz each): Look for pieces that are similar in size so they cook evenly. I always remember to pound them down; it makes the meat so tender and ensures that beautiful golden crust.
- 1 ½ cups panko bread crumbs: These give you that lovely, airy crunch that regular crumbs just can't match. It's the secret to that 'restaurant style' texture we're all after.
- Fresh basil leaves, for garnish (optional): Now, these are optional, but honestly, that pop of green and the fresh scent just lifts the whole dish. It's like a little bit of garden sunshine on the plate.
- 1 tsp dried Italian seasoning: I mix this right into the 1 cup all‑purpose flour. It adds a subtle, earthy depth that wakes up the chicken before it even hits the pan.
- 2 cups marinara sauce, low‑sodium: Since we're using cheese, a low‑sodium sauce keeps things balanced. It should be thick and rich, just enough to blanket the chicken without making it soggy.
- ½ cup freshly grated Parmesan cheese: I like to mix this with the crumbs for a nutty, salty kick. It helps the coating brown beautifully and adds a layer of flavor that's just... wow.
Complete Cooking Process
-
Getting Ready:
First, we get the oven warming up and set up our dredging stations. It's all about having that flour, those 2 large eggs, beaten, and the crumb mixture ready to go so the chicken doesn't sit too long.
-
Building Flavor:
The flavor really starts when we fry the chicken in olive oil until golden. Then, simmering the chicken in that marinara sauce allows the juices to mingle and the sauce to soak in just a bit.
-
Perfecting the Crunch:
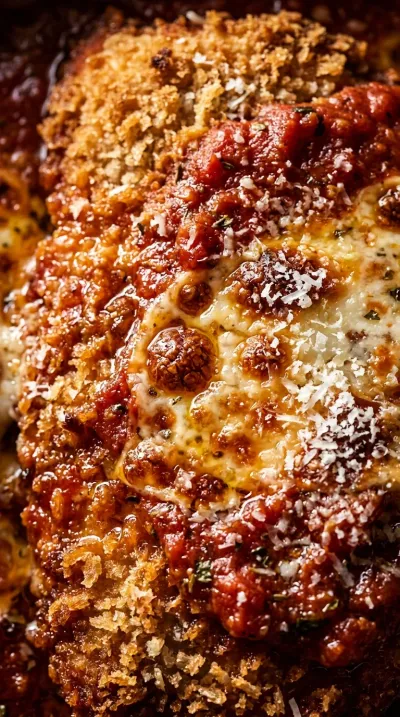
To keep it crispy, we fry the cutlets first and drain them on paper towels. The final broiling step with 1 ½ cups shredded mozzarella cheese adds that bubbly top without losing the crunch underneath.
-
The Final Touch:
Once the cheese is golden, we add a final layer of sauce and cheese for that decadent look. A few fresh basil leaves at the end make it feel truly special.
-
Resting and Serving:
I always let the chicken rest for about 5 minutes. It just lets the cheese set and the juices settle, so every bite is perfect when it hits the table.
-
Pound the chicken to an even thickness for uniform cooking and a crispier crust.
-
Toss the crumbs with grated Parmesan beforehand to infuse extra flavor and a subtle nutty taste into the coating.
-
If you prefer a lighter version, use a non‑stick skillet and 1 tablespoon of oil.
-
Finish the cheese under a lighter broil setting to avoid excess greasiness.
Pro Tips
You've got this, just take your time and enjoy the process!
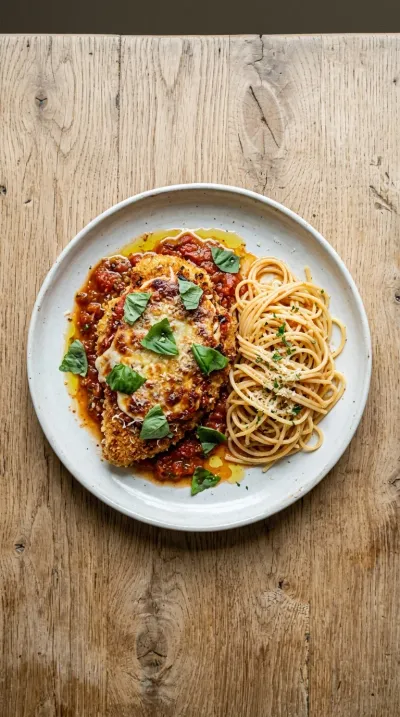
Better For You Treats
This dish is high in protein and calcium from the cheeses, though it's a bit indulgent. If you're feeling mindful, you can use whole‑grain breadcrumbs for a healthier twist, or try the low‑fat version with part‑skim mozzarella.
Ways to Make it Your Own
Feel free to get creative! You could try an Herb‑Infused version by adding fresh parsley and oregano to the breadcrumbs, or even finish it with a little balsamic reduction for a tangy, sweet contrast.
Serving Suggestions
I love serving this over al dente spaghetti tossed in extra marinara sauce for a classic feel. Pair it with a crisp Caesar salad and some buttery garlic bread for a dinner that feels like a celebration.
Frequently Asked Questions
→ Can I bake the chicken instead of frying it?
You can, but honestly, you'll lose that signature restaurant crunch. Frying it quickly in olive oil is what gives it that lovely golden crust.
→ What if my cheese isn't browning under the broiler?
Just keep a close eye on it! Every broiler is a bit different, so just leave it in for another minute or two until you see those beautiful brown bubbles.
→ How do I keep the breading from falling off?
The secret is pressing the crumb mixture firmly into the chicken. Also, make sure to shake off the excess flour before dipping into the beaten eggs.
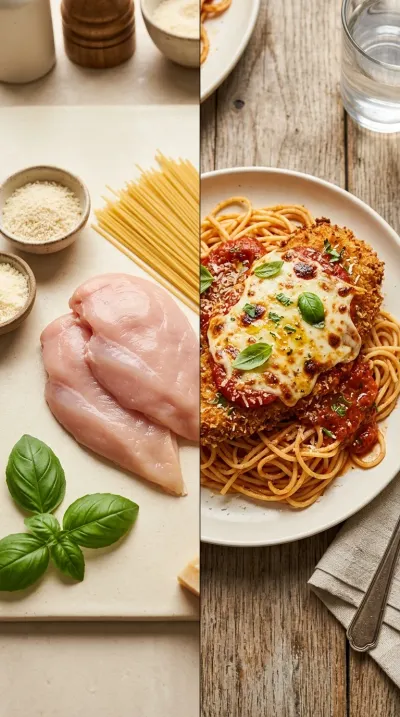
Nutrition Facts
per serving
580
Calories
42g
Protein
35g
Carbs
32g
Fat
Taste Profile
A savory, rich balance of tangy marinara and salty, nutty cheeses.
Ingredient Substitutions
Don't have an ingredient? Try these alternatives
Will result in a finer crust rather than a chunky crunch.
Ensure it is simmered and thickened before spooning over the chicken.
Provides a slightly sharper, tangier melt.
Recipe Variations
Try these delicious twists on the original
Herb‑Infused Chicken Parmesan
For something a bit brighter, add chopped fresh parsley, basil, and oregano right into the breadcrumb mixture. To really take it over the top, finish it with a splash of balsamic reduction before you put it under the broiler.
Low‑fat Parmesan Bake
If you're keeping things a bit lighter, replace half the mozzarella with part‑skim mozzarella and use just 1 tablespoon of oil in a non‑stick skillet. Bake it at 400°F for 15 minutes before broiling to reduce the fat.
Common Mistakes to Avoid
Learn from others' mistakes for perfect results
- Skipping the pounding step, leading to unevenly cooked meat.
- Overloading the skillet, which lowers the oil temp and makes the crust greasy.
- Adding too much flour, which creates a thick, pasty layer that peels off.
Meal Prep & Storage
Make Ahead Tips
You can bread the chicken breasts a few hours in advance and keep them refrigerated, though frying them fresh is best for that crunch.
Leftover Ideas
Store in an airtight container in the fridge for 3 days. Reheat in the oven at 350°F (175°C) until the cheese is bubbly again.
Perfect Pairings
Serve this with...
Cooking Timeline
Preheat oven and pound chicken breasts
Set up dredging station and coat the chicken
Fry chicken until golden brown
Simmer sauce in pan and first oven bake
Final broil, rest, and garnish
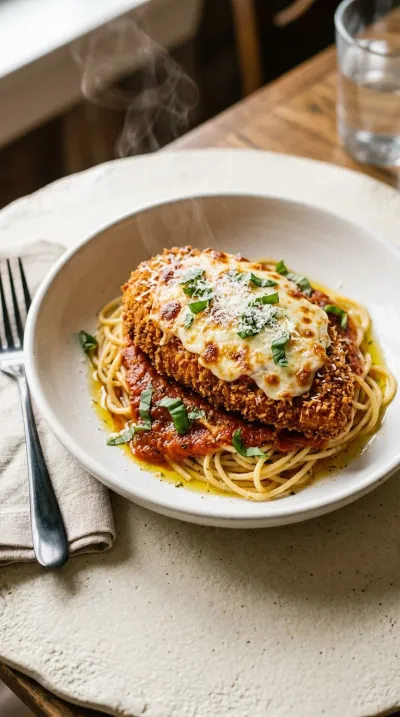
Crispy Chicken Parmesan – Restaurant Style
There is something so comforting about a plate of crispy chicken parmesan with its golden-brown crust and melted cheese. It is a warm, hearty meal that brings that classic restaurant feel right into your own cozy kitchen.
Timing
Prep Time
20 Minutes
Cook Time
35 Minutes
Total Time
55 Minutes
Recipe Details
Ingredients
Chicken and Breading
-
01
4 boneless, skin‑less chicken breasts (about 6 oz each)
-
02
1 cup all‑purpose flour
-
03
2 large eggs, beaten
-
04
1 ½ cups panko bread crumbs
-
05
½ cup freshly grated Parmesan cheese
-
06
1 tsp dried Italian seasoning
-
07
Salt and freshly ground pepper, to taste
Sauce and Topping
-
01
2 cups marinara sauce, low‑sodium
-
02
1 ½ cups shredded mozzarella cheese
-
03
¼ cup olive oil, divided
Garnish
-
01
Fresh basil leaves, for garnish (optional)
Instructions
First things first, go ahead and preheat your oven to 425°F (220°C). You'll also want to set the broiler to high so it's ready for that final bubbly finish.
Now, lay out your chicken breasts. I find it helps to put them between plastic wrap or parchment paper, then gently pound them with a meat mallet or rolling pin until they're an even thickness of about ½ inch. It just makes sure everything cooks at the same speed.
Let's get a dredging station ready. In one shallow dish, mix your all‑purpose flour with salt, pepper, and dried Italian seasoning. In the second, your beaten eggs. In the third, toss together those panko bread crumbs and freshly grated Parmesan cheese. So simple, really.
One by one, take the chicken and dip it in the seasoned flour—shake off the extra, you know—then through the eggs, and finally press it firmly into the panko and Parmesan mixture until it's well coated.
Heat 2 tablespoons of olive oil in your skillet over medium‑high. Fry the chicken for about 3–4 minutes per side. You're looking for a beautiful golden brown color and an internal temperature of 165°F. Once they're done, just let them rest on paper towels to drain off the extra oil.
Turn the heat down to medium and add the last 2 tablespoons of olive oil. Spoon in 1 cup of marinara sauce and let it come to a gentle simmer. Then, nestle your fried chicken back into the skillet and spoon a bit more sauce over the top.
Sprinkle that shredded mozzarella over each breast. Cover the skillet with foil and pop it into the oven for 10 minutes. That's just enough time for the cheese to get nice and melted.
Now for the best part. Remove the foil, pour the remaining marinara sauce over each piece, add one more layer of mozzarella, and slide it under the broiler for 2–3 minutes. Wow, wait until that cheese starts bubbling and turns golden.
Carefully take the skillet out and let the chicken rest for about 5 minutes. If you have some fresh basil leaves, go ahead and scatter them on top for a little pop of color.
Serve it up immediately over some spaghetti, with a side of garlic bread, or maybe a fresh green salad. Enjoy!
Notes & Tips
-
1
Pounding the chicken is key for uniform cooking and a crispier crust.
-
2
Mixing Parmesan into the crumbs adds a lovely nutty depth to the coating.
-
3
For a lighter version, try a non‑stick pan and a bit less oil.
 Quick & Easy Everyday Recipes
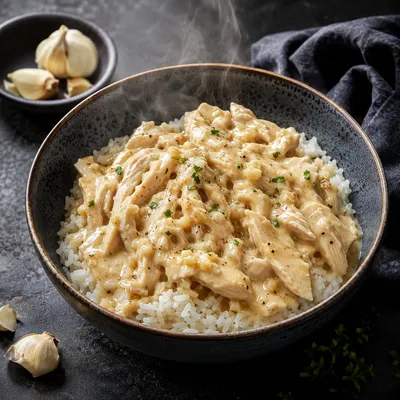
Creamy Garlic Chicken Rice Bowls
Tender chicken, garlicky cream sauce, and soft rice make a quick, comforting bowl.
Tools You'll Need
-
Large skillet for frying and baking
-
Oven for melting and broiling
-
Broiler rack for the final crisp
-
Dredging plates to keep the station organized
-
Tongs for flipping the chicken
-
Meat mallet or rolling pin for evening out the meat
-
Cutting board for prep
-
Paper towels to soak up excess oil
-
Measuring cups and spoons
-
Pastry brush for any extra sauce
Must-Know Tips
-
Pound the chicken, this ensures even thickness so you don't end up with raw centers and burnt edges.
-
Pre-mix Parmesan, toss your crumbs with grated Parmesan beforehand to infuse extra flavor.
-
Watch the broiler, keep a close eye on the cheese during the final 2-3 minutes so it doesn't burn.
Professional Secrets
-
The double-cheese method: adding mozzarella both before and after the final sauce layer creates that restaurant-style pull.
-
The resting period: letting the chicken sit for 5 minutes after broiling keeps the juices inside.
-
Dredge discipline: shaking off excess flour prevents the breading from peeling off in the pan.
What readers are saying
Community reviews from home cooks like you
I was surprised how good this turned out. I really liked how the 4 boneless, skin‑less chicken breasts (about 6 oz each) and 1 cup all‑purpose flour came together. The texture was a touch off, but the flavor saved it. Highly recommend giving it a try.
This exceeded my expectations. I really liked how the 4 boneless, skin‑less chicken breasts (about 6 oz each) and 1 cup all‑purpose flour came together. I found it a bit sweet for my taste. My kids even asked for seconds.
Can't believe how simple this was. I really liked how the 4 boneless, skin‑less chicken breasts (about 6 oz each) and 1 cup all‑purpose flour came together. Perfect as written.
The flavors were spot on. I really liked how the 4 boneless, skin‑less chicken breasts (about 6 oz each) and 1 cup all‑purpose flour came together. The texture was a touch off, but the flavor saved it. Will be making this regularly.
I wanted to love this dish, but it didn't quite work for me. It took slightly longer than the recipe said. I think with some tweaks it could be really good.
Can't believe how simple this was. I really liked how the 4 boneless, skin‑less chicken breasts (about 6 oz each) and 1 cup all‑purpose flour came together. My kids even asked for seconds.
Perfect for a busy weeknight. I really liked how the 4 boneless, skin‑less chicken breasts (about 6 oz each) and 1 cup all‑purpose flour came together. I added a bit more seasoning next time. Will be making this regularly.
The flavors were spot on. I really liked how the 4 boneless, skin‑less chicken breasts (about 6 oz each) and 1 cup all‑purpose flour came together. The texture was a touch off, but the flavor saved it. Great addition to my recipe rotation.
Perfect for a busy weeknight. I really liked how the 4 boneless, skin‑less chicken breasts (about 6 oz each) and 1 cup all‑purpose flour came together. My kids even asked for seconds.
Pretty good overall. The each) flavor was nice, but i added a bit more seasoning next time. I might try it again with some adjustments.
The flavors were spot on. I really liked how the 4 boneless, skin‑less chicken breasts (about 6 oz each) and 1 cup all‑purpose flour came together. Thanks for sharing this one!
So easy and delicious. I really liked how the 4 boneless, skin‑less chicken breasts (about 6 oz each) and 1 cup all‑purpose flour came together. Already shared it with a friend.
Absolutely loved this recipe! I really liked how the 4 boneless, skin‑less chicken breasts (about 6 oz each) and 1 cup all‑purpose flour came together. Will be making this regularly.
I was surprised how good this turned out. I really liked how the 4 boneless, skin‑less chicken breasts (about 6 oz each) and 1 cup all‑purpose flour came together. My kids even asked for seconds.
Can't believe how simple this was. I really liked how the 4 boneless, skin‑less chicken breasts (about 6 oz each) and 1 cup all‑purpose flour came together. I would reduce the salt a little. Saving this for later.

Recipe by
Alexa CarterFast food, but smarter 🔥🍽️ Bold flavors, simple steps, and meals that always hit the spot 😎
Get Delicious Recipes Weekly
Join 25,000+ home cooks getting our best recipes straight to their inbox.
Free forever • No spam • Unsubscribe anytime