The tradition of the 'no-bake' dessert grew in popularity alongside the rise of refrigerated cream products and the convenience of pre-made cookies in the mid-20th century. These oreo no-bake cheesecake cups are a modern evolution of the classic American cheesecake, removing the heavy heat of the oven to create a texture that is more akin to a mousse than a dense cake.
Culturally, the Oreo cookie has become a global symbol of nostalgia, often associated with childhood treats and milk. By transforming these cookies into a crust and a garnish, the dessert bridges the gap between a simple snack and an elegant plated sweet.
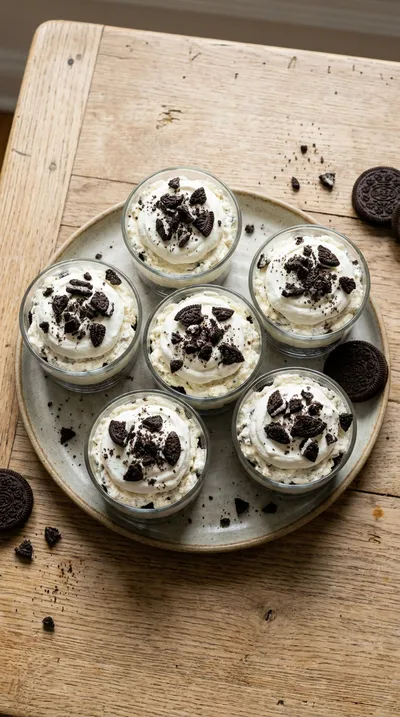
This style of individual serving reflects a shift toward a more casual, shared dining experience. Instead of a singular, towering cake, these cups allow guests to enjoy a personal portion of creamy sweetness, making the treat as accessible as it is indulgent.
Why You'll Love It
-
- Honestly, there is something so nostalgic about a no-bake treat, and these little cups just taste like a childhood dream come true.
-
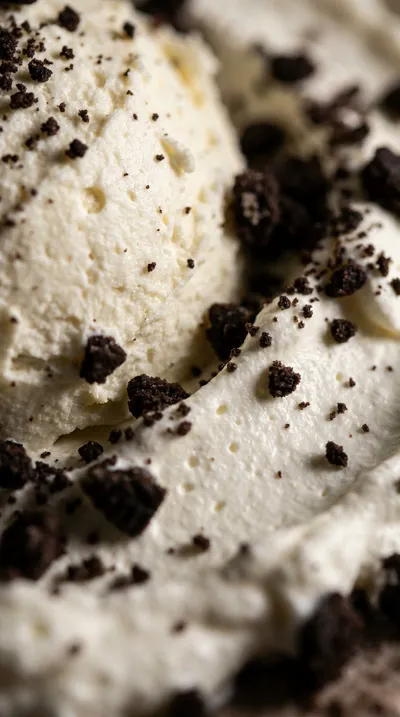
- You get that lovely, velvety smoothness from the cream cheese paired with the satisfying crunch of the Oreo cookie crumbs.
-
- Well, the best part is that there is no oven involved, so your kitchen stays nice and cool while you whip these up.
-
- I mean, they are just so dainty and perfectly portioned, making them a wonderful way to treat guests without any fuss.
"I made these for my daughter's baby shower and they disappeared in minutes! Truly the easiest, creamiest treat I've ever served."
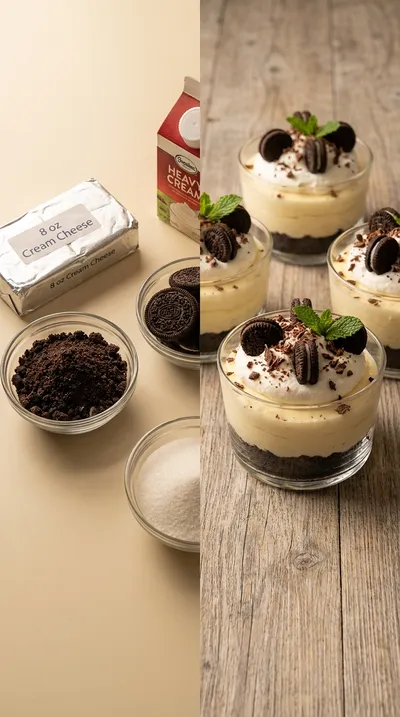
Essential Ingredient Guide
- cream cheese, softened: This is the heart of our filling, so please make sure it is truly soft. I usually let it sit on the counter for a bit so it blends into a dreamy, lump-free cream.
- heavy cream, cold: Keeping this nice and chilly is the secret to those stiff, fluffy peaks. If it's too warm, it just won't hold its shape, and ugh, that would be a shame.
- Mini Oreo cookies, for garnish (optional): These add such a cute, professional look to the top. It is a small touch, but it really makes the dessert feel like a special occasion.
- vanilla extract: Just a teaspoon adds a warm, familiar depth that ties the chocolate and cream together. It's a quiet little flavor that makes everything taste a bit more like home.
- unsalted butter, melted: This binds our 1 ½ cups (180g) Oreo cookie crumbs into a sturdy little base. I like to make sure it's well mixed so every crumb is kissed by that rich butter.
- granulated sugar: A full cup brings the sweetness just where it needs to be. It balances the tang of the cheese, creating that classic cheesecake flavor we all love.
 Quick & Easy Everyday Recipes
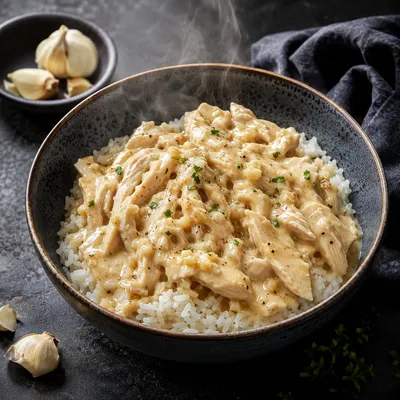
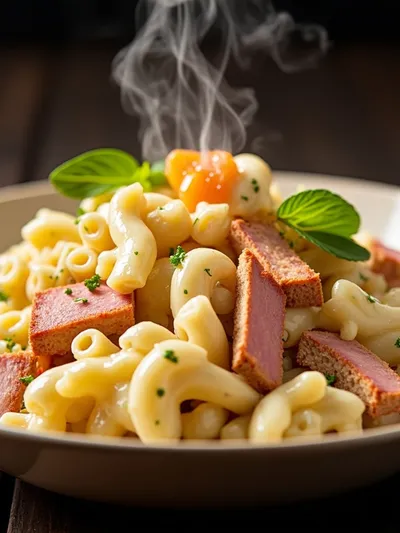
Creamy Garlic Chicken Rice Bowls
Tender chicken, garlicky cream sauce, and soft rice make a quick, comforting bowl.
Complete Cooking Process
-
Ingredient Readiness:
It all starts with having your cream cheese, softened and ready to go. I've learned the hard way that cold cheese leads to lumps, so patience here is key.
-
Flavor Development:
The magic happens when you beat the granulated sugar and vanilla extract into the cheese. That's when the filling transforms into a rich, sweet base for the cookies.
-
Texture Control:
Folding the whipped heavy cream gently is where the airy texture comes from. If you're too rough, you'll lose those lovely bubbles, so just a soft touch, yeah?
-
Finishing Touches:
Right before serving, I love adding the crushed Oreo cookies or mini Oreo cookies. It adds a bit of texture and a pop of visual delight to each cup.
-
Serving Timing:
These need a good long nap in the fridge—at least 4 hours, but overnight is even better. It gives them time to set up so they are perfectly creamy and stable.
-
Let your cream cheese sit at room temperature for about 30 minutes to ensure a smooth filling.
-
Watch your heavy cream carefully; stop mixing as soon as you hit stiff peaks so it doesn't turn into butter.
-
Feel free to use a bit more Oreo cookie crumbs in the crust if you want a deeper chocolate punch.
-
Gently fold the cream in stages—start with a third to lighten the mix before adding the rest.
Pro Tips
Just trust your instincts and enjoy the process of making something sweet.

Better For You Treats
Ways to Make it Your Own
Serving Suggestions
Frequently Asked Questions
→ Can I make these ahead of time?
Yes, indeed! In fact, I prefer making them overnight so they have plenty of time to set and the flavors can settle.
→ What if my filling seems too soft?
Just pop them back in the fridge for another hour or so. Sometimes they just need a bit more chill time to firm up properly.
→ Can I freeze these for later?
You certainly can. Just wrap them individually in plastic wrap and keep them in a freezer-safe container for up to a month.
Nutrition Facts
per serving
410
Calories
6g
Protein
34g
Carbs
26g
Fat
Taste Profile
A rich, creamy blend of sweet vanilla cheesecake and deep cocoa chocolate.
Ingredient Substitutions
Don't have an ingredient? Try these alternatives
Keep in mind the flavor will shift slightly to be more tropical.
This will make the filling denser and richer.
Recipe Variations
Try these delicious twists on the original
Peanut Butter Oreo Cheesecake Cups
For a delicious peanut butter twist, just add 2 tablespoons of creamy peanut butter into the cream cheese mixture while beating.
Mint Oreo Cheesecake Cups
Create a refreshing mint chocolate treat by adding ½ teaspoon of peppermint extract to the cream cheese and using mint Oreo cookies for the crust.
Common Mistakes to Avoid
Learn from others' mistakes for perfect results
- Using cold cream cheese which leads to a lumpy filling.
- Overbeating the heavy cream until it separates or turns to butter.
- Overmixing the whipped cream into the base, which deflates the air.
Meal Prep & Storage
Make Ahead Tips
These are actually designed for making ahead! They need at least 4 hours to set, but they are best when made the night before.
Leftover Ideas
Store any remaining cups in the refrigerator. They won't hold up at room temperature, so keep them chilled until the moment you eat them.
Perfect Pairings
Serve this with...
Cooking Timeline
Mix Oreo crumbs and melted butter for the crust.
Press crust into liners and beat cream cheese with sugar and vanilla.
Whip the cold heavy cream to stiff peaks.
Fold mixtures together and fill the cheesecake cups.
Refrigerate to let the filling set completely.
 Quick & Easy Everyday Recipes
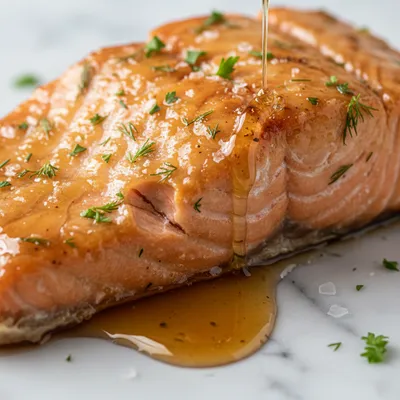
Honey Baked Salmon – Easy & Delicious
Honey‑baked salmon with a sweet‑savory glaze, ready in under thirty minutes.

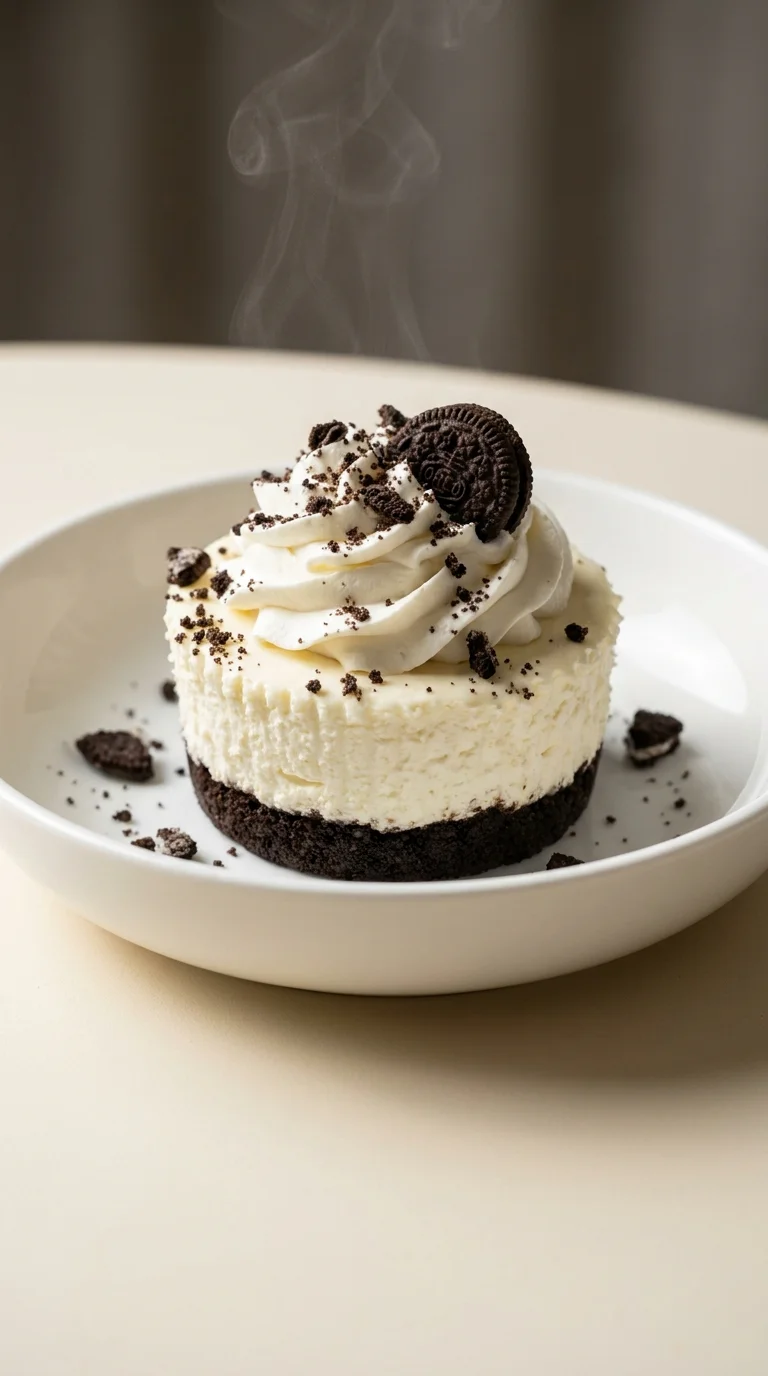
Oreo No-Bake Cheesecake Cups
These oreo no-bake cheesecake cups are a dreamy blend of crunchy cookie crust and a velvet-smooth filling. It is the kind of treat that feels like a hug in a dessert cup, bringing a cool, sweet relief to any afternoon.
Timing
Prep Time
20 Minutes
Cook Time
0 Minutes
Total Time
20 Minutes
Recipe Details
Ingredients
The Crust
-
01
1 ½ cups (180g) Oreo cookie crumbs (about 30 Oreos)
-
02
5 tablespoons (70g) unsalted butter, melted
Cheesecake Filling
-
01
8 ounces (226g) cream cheese, softened
-
02
1 cup (200g) granulated sugar
-
03
1 teaspoon vanilla extract
-
04
1 cup (240ml) heavy cream, cold
Optional Garnish
-
01
½ cup (60g) crushed Oreo cookies, for topping (optional)
-
02
Mini Oreo cookies, for garnish (optional)
Instructions
Let's start with the crust. In a medium bowl, just combine those 1 ½ cups (180g) Oreo cookie crumbs and 5 tablespoons (70g) unsalted butter, melted. Give it a good mix until the crumbs are all evenly moistened; it should look like wet sand, honestly.
Now, line your 12-cup muffin tin with those cute cupcake liners. Spoon about 2 tablespoons of the Oreo crumb mixture into each liner and press them down firmly. You want a solid little base for your Oreo no-bake cheesecake cups.
In a large mixing bowl, beat your 8 ounces (226g) cream cheese, softened and 1 cup (200g) granulated sugar with an electric mixer. Keep going until it's smooth and creamy... look, just make sure there are no lumps left in there!
Gently stir in the 1 teaspoon vanilla extract until it's all well combined. It smells so wonderful at this stage.
In a separate large bowl, beat that 1 cup (240ml) heavy cream, cold, using a clean whisk or mixer until stiff peaks form. Well, be careful not to overbeat it—we want it light and fluffy, not like butter, oops.
Now for the gentle part. Fold about ⅓ of the whipped cream into the cream cheese mixture to lighten it up. Then, fold in the rest of the whipped cream until just combined. Yeah, avoid overmixing here so the filling stays airy.
Spoon that lovely cheesecake filling evenly over your Oreo crusts in the cupcake liners. Try to get them all even, though it's okay if they aren't perfect.
Cover your muffin tin with plastic wrap and pop it in the refrigerator for at least 4 hours. Honestly, I'd suggest overnight if you can wait, just to let them set completely.
Right before you serve them, sprinkle the tops with your ½ cup (60g) crushed Oreo cookies, for topping (optional) and maybe a few Mini Oreo cookies, for garnish (optional). It just looks so much more inviting.
Notes & Tips
-
1
Make sure the cream cheese is fully softened to avoid lumps.
-
2
Avoid overbeating the heavy cream to maintain a light texture.
-
3
Adjust the amount of cookie crumbs in the crust if you prefer a stronger Oreo flavor.
Tools You'll Need
-
9-inch pie plate or food processor for the crumbs
-
Two large mixing bowls and one medium bowl
-
Electric mixer, either handheld or a stand mixer
-
Standard measuring cups and spoons
-
12 cupcake liners
-
Muffin tin (12-cup)
Must-Know Tips
-
Softened Cheese, Let your cream cheese sit at room temperature for about 30 minutes before starting so it blends smoothly.
-
Whip Carefully, Aim for stiff peaks with the heavy cream, but stop before it turns into butter.
-
Custom Crust, Don't be afraid to add more cookie crumbs if you love that deep Oreo taste.
Professional Secrets
-
Folding Technique, Using ⅓ of the cream to lighten the base ensures a cloud-like consistency.
-
Cold Components, Keeping the heavy cream very cold is the secret to getting those stable stiff peaks.
-
Patience in Chilling, A full overnight chill transforms the texture from soft to perfectly set.

Recipe by
Mia CollinsSmall bites, big happiness 😋✨ Fun snacks, tasty treats, and flavor in every bite 🧆
Get Delicious Recipes Weekly
Join 25,000+ home cooks getting our best recipes straight to their inbox.
Free forever • No spam • Unsubscribe anytime